Guides · October 7, 2026 · By Dayne Remlinger
Vehicle wrap templates: where to get them and how to set up files for print
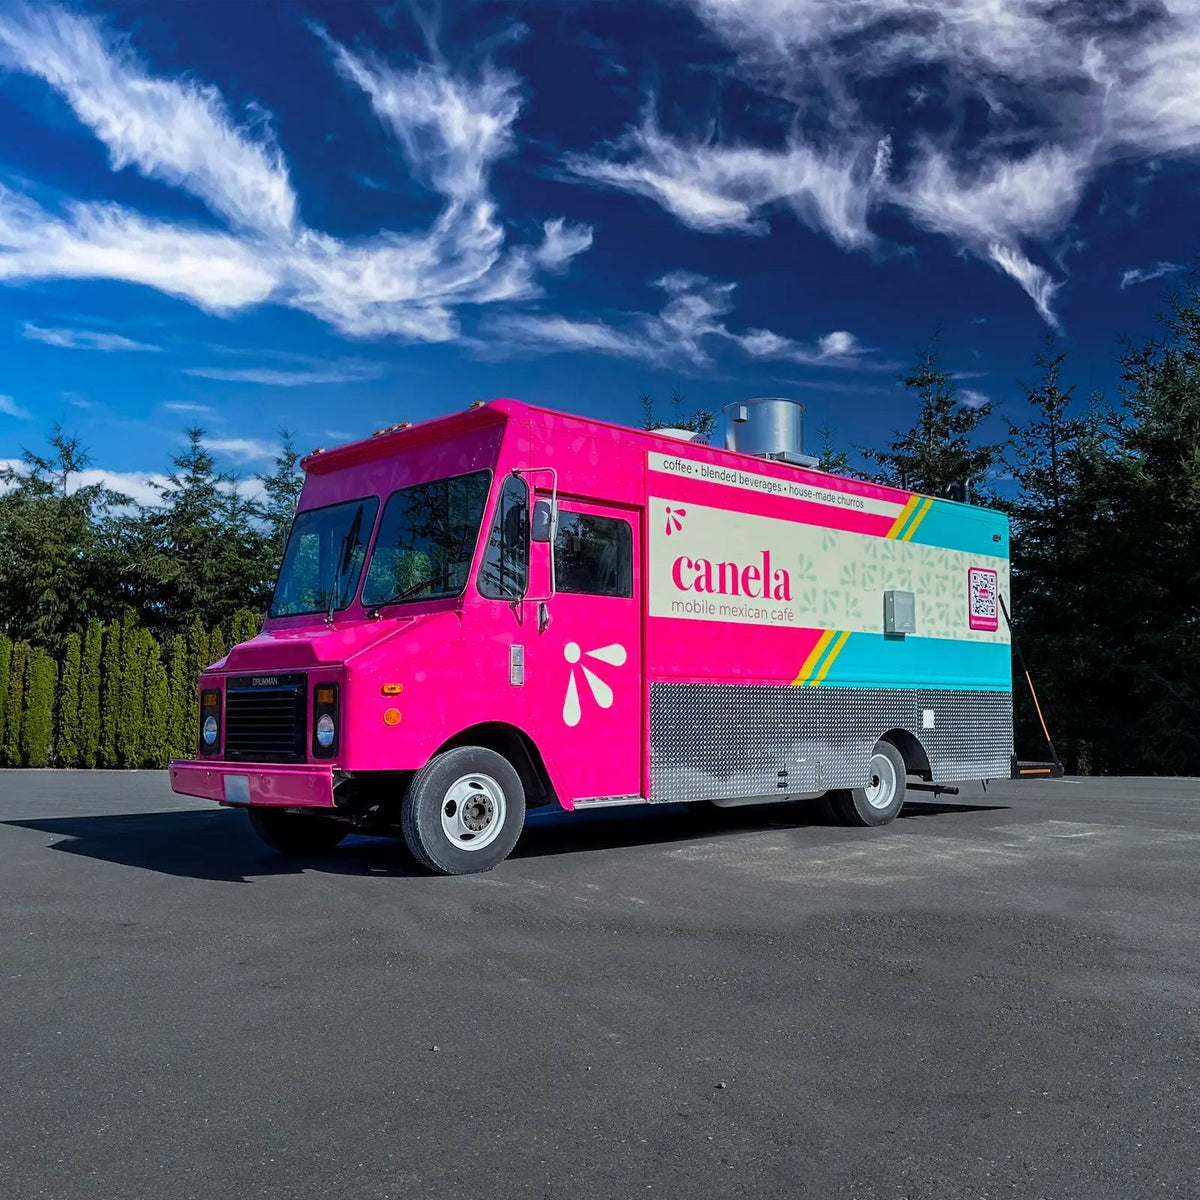
Vehicle wrap templates speed up the design stage, but a template is not a print file. Somewhere between the template and the printer, the design has to become full-size panels with bleed, at the right resolution, that fit a 58 inch print width. This guide covers what templates are for, where shops get them, and how to take a design from a template to print-ready panels using our file setup rules.
One thing first: WrapPrinting.com does not sell or supply vehicle wrap templates. We print the files you send.
What a vehicle wrap template is for
A template is an outline drawing of a specific vehicle, built so a designer can lay artwork over the body and see where doors, handles, windows, wheel arches and body lines fall. Shops use templates for three jobs:
- Layout. Keeping logos, phone numbers and text off door gaps, handles and deep recesses.
- Customer proofs. Showing the customer what the wrap will look like before anything is printed.
- Estimating. Getting rough sizes for each side so you can quote the job.
Where to get templates
Templates come from commercial libraries that sell access by subscription or download. Two that we confirmed are operating at the time of writing:
- Pro Vehicle Outlines. Its site describes a library of more than 19,500 vehicle templates supplied as vector files in .ai format, covering cars, trucks, SUVs, trailers, vans and specialty vehicles, sold with a year of unlimited downloads.
- The Bad Wrap. Its site describes vehicle wrap templates for cars, SUVs, trucks and vans that are compatible with Photoshop, Illustrator and Flexi, sold by subscription.
We have no affiliation with either company and do not recommend one over the other. Check each library for the exact year, make, model and body length you are wrapping before you pay for it.
Why a template is only a starting point
A template shows a vehicle in its standard form. The vehicle in your bay may not match. Trim levels, roof heights and wheelbases change the numbers, and so do ladder racks, added moldings and aftermarket bumpers. Measure the real vehicle and check the template against it before you build the print file. If the two disagree, the tape measure wins.
From template to print-ready panels
1. Set the scale
Build the print file at full size, or at a stated scale. 1:10 is common. Put the scale in the file name so there is no doubt about the final size. If the template you bought is drawn at a different scale, resize the document rather than guessing.
2. Make one file per side
Send one file for each surface: driver side, passenger side, rear, hood and roof. Do not send the whole template sheet with every view on one page.
3. Add bleed
Add at least 2 inches of bleed on every edge of vehicle artwork. Extend the background into the bleed and keep logos, phone numbers and text well inside the trim. A template outline stops at the edge of the body, so bleed is something you add.
4. Check resolution and color
Raster images should be 100 to 150 ppi at full size. In a 1:10 file that is 1,000 to 1,500 ppi. Keep logos, type and shapes as vector art. Set the document to CMYK and list any critical brand or Pantone colors in your order notes.
5. Remove the template
Turn off or delete the template outline layer before you export. The print file should contain artwork only. Keep a copy with the outline visible for your customer proof and for your installer.
6. Panel, or let us panel
Wrap film prints on 60 inch rolls with a 58 inch maximum print width, so most vehicle sides have to be split into panels. You can send the full side and we will panel it to roll width with overlap and show the layout on the proof. If you panel it yourself, keep every panel at 58 inches or less including overlap, and state your overlap in the order notes.
7. Add cut paths if you need them
For contour-cut graphics, supply vector artwork with the cut path on its own layer. Name the cut path spot color CutContour and set it as a 100% magenta hairline stroke.
8. Export and upload
A print-ready PDF is preferred. AI or EPS files work with fonts outlined and images embedded, and raster art can be a layered PSD or a flattened TIFF. Uploads up to 5 GB are accepted at order time. For larger files, send a download link after checkout.
If you would rather not do the setup
Our file setup and print-ready output service covers it for $199 per design: we check, fix and panel your artwork and output print-ready files. Either way, a person checks every file and you get a proof on every order.
Next steps
Read the full file setup guide, run your file through the vehicle wrap file setup checklist, and use how much vinyl it takes to wrap a vehicle to turn your template sizes into billed square feet. When the files are ready, order from the wholesale wrap printing page.
Price your next job
Published per-square-foot pricing on Avery and 3M films. Printed in-house by Ardor Printing and shipped 2 business days after proof approval.